

by Diego Sanchez
January 04, 2021
Diego prevents carpal tunnel syndrome in designers worldwide by making incredible time-saving Photoshop actions and mock-ups.


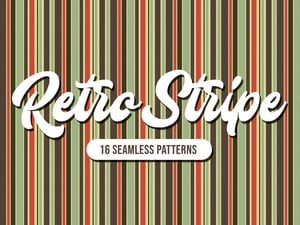
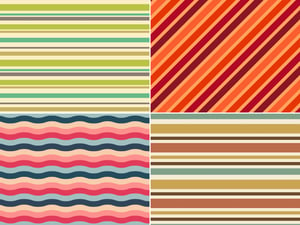
How to Create a Striped Brush in Illustrator
Illustrator Brushes
Making stripes in Illustrator is an easy task, but when you want to make complex objects with stripes, well, things can get a bit more difficult. Fortunately, there are a ton of easy ways to make complex striped objects. Some method requires the use of the Appearance Panel (to make Graphic Styles) while others are simpler (but then you're stuck with the color palette you choose when you start). Today, I'll show you an easy method to make a Striped Brush in Illustrator that you can use to make very complex objects and at the same time will let you change all the colors easily once you finish.
Step 1
Open Illustrator and make a new file at any size you want. In this case i will make mine at 1200 x 800 px.

Step 2
Select the Rectangle Tool (M) and click once over the artboard.

Step 3
Set the Width and Height of the Rectangle to 50px and click OK.

Step 4
Set the square to any color you want to use on your striped brush. I will be using #00cd9b for this one.

Step 5
Draw 4 more squares with the same size and using the colors you want to use on your brush.

Step 6
Position the 5 squares next to the other as shown. Be sure that the edges are touching.

Step 7
Select all the squares and go to Window > Swatches.

Step 8
Click on the "New Color Group" icon. Give your color group a name, check the "Selected Artwork" option, be sure to check the "Convert Process to Global" option and click OK.

Step 9
With all the squares selected, go to Object > Group. In the top toolbar, be sure to have the "Constrain Proportions" enabled and set the width to 100 px.

Step 10
With all the squares still selected, go to Window > Brushes and click on the "New Brush" icon to make a new brush.

Step 11
In the New Brush window, select the "Art Brush" option and click OK.

Step 12
In the Art Brush Options window, set the direction to Up and click OK. Now the brush is available in the Brush Panel.

Step 13
To test the brush, select the Pen Tool and draw any shape you want.

Step 14
Lastly, with the shape selected, click on the recently created brush.

Step 15
If you want to change the colors, you can do it easily by changing the Global Colors we created. To do that, simply double click on the color you want to change in the Swatches Panel.

Step 16
Pick any color you want in the Swatch Options window and click OK.


Comments