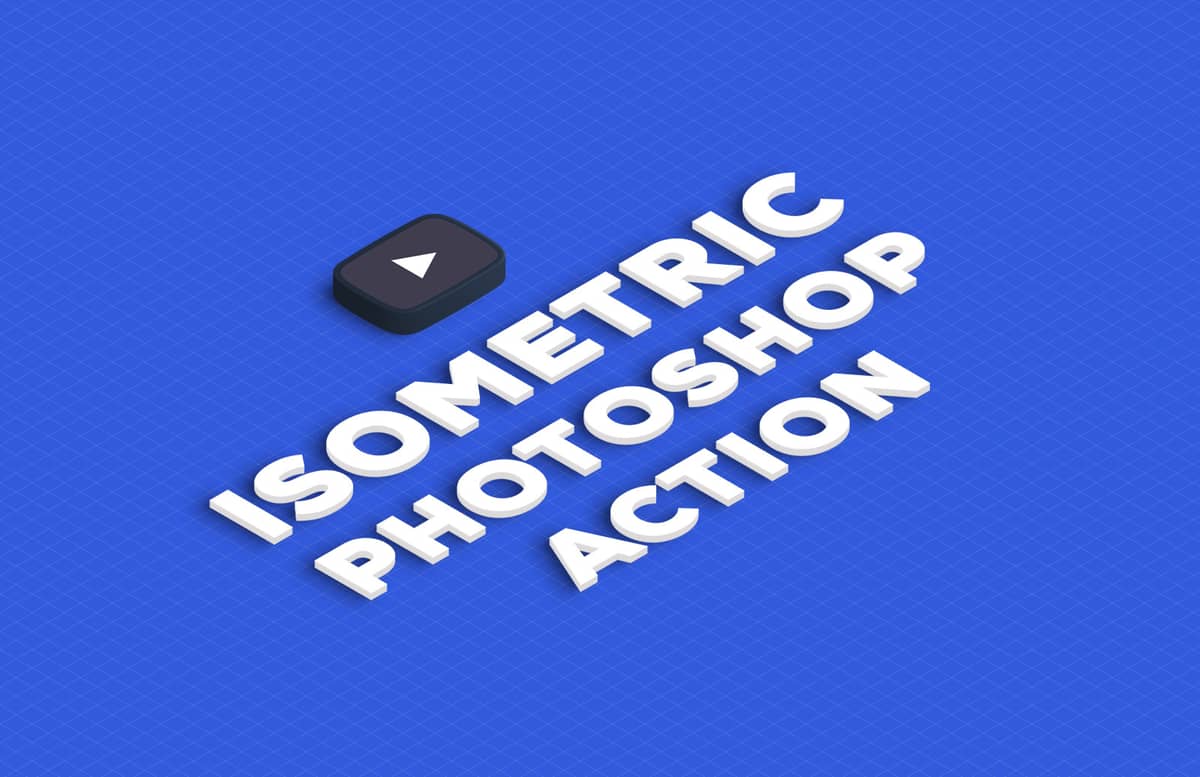


Isometric Photoshop Action


With the Isometric Photoshop Action you can easily transform any text or shape to a 3D Isometric perspective with a single click of the mouse. The action comes with 2 different styles (volumetric and flat) 2 different view angles (right and left) and it will automatically adjust to the Global Light Value you set.
Simply create a new file in Photoshop, type your text or place your object in a new layer and run the action. In less than a minute you will have it transformed to an isometric view. Then you can turn off the background layer to have your new isometric object in a transparent background and place it over any background you like.
Besides text, you can also use the action with any type of vector or raster shapes. Simply place your vector or raster shape in a new layer above the background, and run the action.
Once any of the action finish, you can turn on/off the depth layers to control the 3D effect of your isometric object. Choose from 0px to 50 px in a 10px incremental value. Also you can turn on/off the shadows and choose any Global Light Value you want (the isometric object will adjust accordingly to the Global Light Value you set).
How to install (action):
- Open Photoshop.
- In the Actions Panel click on the top right icon and from the dropdown menu select "Load Actions".
- Locate the "Medialoot - Isometric.atn" file and click on Load.
How to use:
- Open Photoshop and make a new file.
- In a new layer, type your text, draw your shape or place your raster image (be sure to have only 1 layer above the background)
- Select any of the Isometric Actions and click on the play button.
- Once the action finish, go to Layer > Layer Style > Global Light and set any value you want.
How to stack objects:
- Make a new document in Photoshop and place your object in a new layer.
- Run any of the included actions.
- Make another new document in Photoshop and place the other object in a new layer.
- Run any of the included actions.
- Select the layers from the second document (except the background) and drag them to the first document.
- Stack the isometric objects to your liking.
Paid License
By purchasing or downloading this item you are agreeing to abide by all terms and conditions laid out in the MediaLoot License Agreement. View the full license >
More from Graphics > Styles & Effects


Newest Designs:


All Tags
Professional Customization
Order Custom Now — $Upgrade to PRO?
The PRO version has way more benefits. Ongoing support, updates, commercial license, and more.
- 100% money-back guarantee
- Lifetime download access
- No-attribution commercial use
X
Comments