


Embroidery Photoshop Action


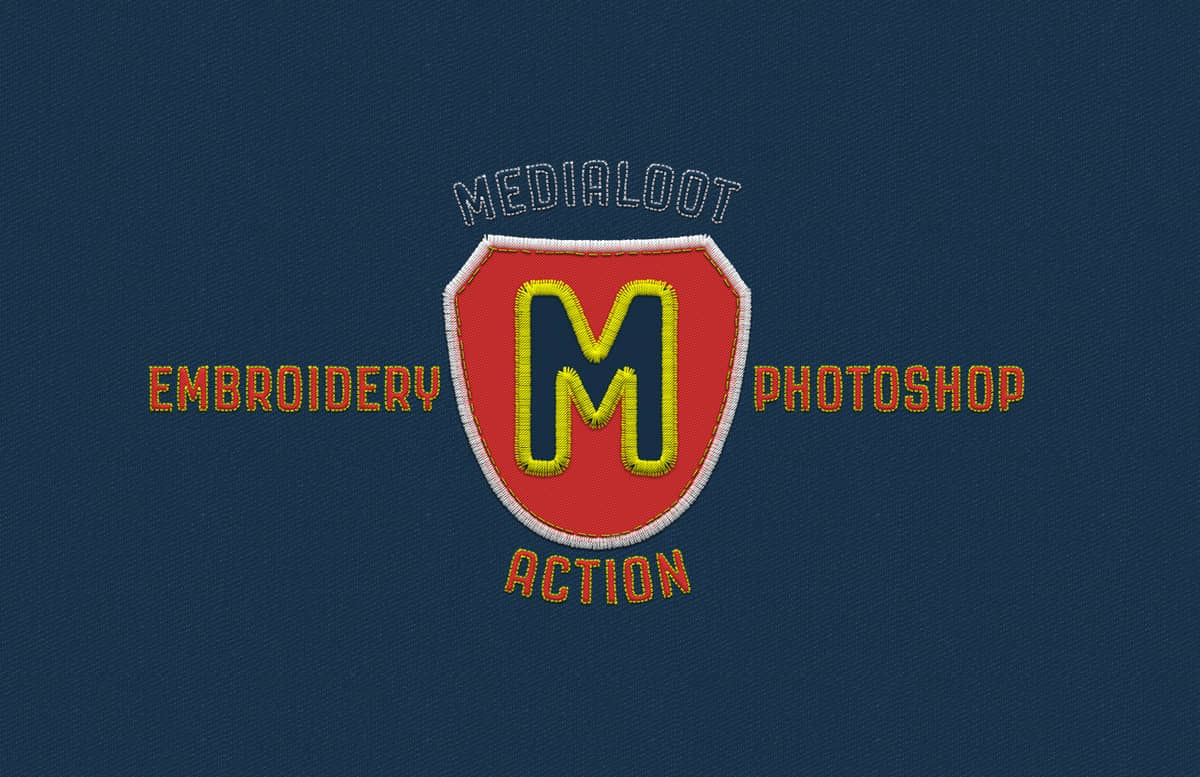
With the Embroidery Photoshop Action you can easily get a realistic embroidered effect with a single click of the mouse. Simply paste your text, vector or raster shape on a new Photoshop document and run the action. Perfect to create realistic badges, you can also use it on logos or emblems to promote your brand. When the action finish, you can change the color of the fabric background, the stitches and the main shape, turn on/off any of the stitches layers or combine 2 or more of them for a new effect.
The action will set 4 different stitches types which you can combine, edit or simple turn off for a different end result, also, you can make multiple adjustments to any of the layer effects to achieve different looks or to fine tune the end result. The Embroidery Set contains 2 actions, one for your main shape, and another one for small shapes or text (with a minimum of 100pt size).
How to install (action):
- Open Photoshop.
- In the Actions Panel click on the top right icon and from the dropdown menu select "Load Actions".
- Locate the "Medialoot - Embroidery Action.atn" file and click on Load.
How to install (brushes):
- Open Photoshop.
- Go to Edit > Presets > Preset Manager.
- From the dropdown select "Brushes" and click on Load.
- Locate the "Medialoot - Embroidery Brushes.abr" file and click Load.
How to install (patterns):
- Open Photoshop.
- Go to Edit > Presets > Preset Manager.
- From the dropdown select "Patterns" and click on Load.
- Locate the "Medialoot - Embroidery Patterns.abr" file and click Load.
How to use:
- Open Photoshop and make a new document at any size with a 72 dpi resolution.
- Paste your text or shape in a new layer.
- In the Actions Panel expand the "Medialoot - Embroidery" action container.
- Select any of the included actions and click on the play button.
How to change colors:
- Select the layer you want to change the color in the Layers Panel.
- Go to Layer > Layer Style > Color Overlay.
- Click in the color thumbnail of the Layer Style window.
- Pick any color from the Color Picker and click OK.
Notes (for a perfect end result):
- For better results use shapes with a minimum thickness of 40 px (if it is thinner, use the "Small" action).
- Use a font size of a minimum of 100 pt and use the "Small" action.
- To make more complex or multiple colored designs like the ones shown in the preview images, make a new document for every part of the design and run the action once on each one, then simply combine all the parts in a new file.
Paid License
By purchasing or downloading this item you are agreeing to abide by all terms and conditions laid out in the MediaLoot License Agreement. View the full license >
More from Graphics > Styles & Effects


Newest Designs:


All Tags
Professional Customization
Order Custom Now — $Upgrade to PRO?
The PRO version has way more benefits. Ongoing support, updates, commercial license, and more.
- 100% money-back guarantee
- Lifetime download access
- No-attribution commercial use
X
Comments