
by Diego Sanchez
June 22, 2020
Diego prevents carpal tunnel syndrome in designers worldwide by making incredible time-saving Photoshop actions and mock-ups.

How to Make a Geometric Halftone Effect in Illustrator
Vector Halftone Effect
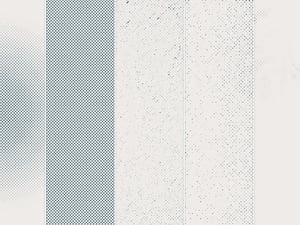
In its original form, Halftone was a printing technique that used small dots of CMYK colors to simulate a solid ink, varying the size and the spacing of those dots to generate a gradient effect or a smooth color. Today, rather than showing you how to make a color halftone effect, we're bringing you an easy technique to make a halftone effect in Illustrator using any geometric shape you want (not just a boring circle) like a hexagon, to tie the design in with other elements of your design.
Step 1
Open Illustrator an make a new file at any size you want. In this case i will make mine at 1800 x 1200 px.

Step 2
Select the Polygon Tool. Be sure to set the fill to Black and the stroke to none.

Step 3
Click once over the Artboard and in the Polygon window, set the Radius to 30 px, the Sides to 6 and click OK.

Step 4
Again, click once over the Artboard and in the Polygon window, set the Radius to 10 px, the Sides to 6 and click OK.

Step 5
Reposition and align the hexagons on their vertical center as shown.

Step 6
Select both hexagons and go to Object > Blend > Make.

Step 7
Go to Object > Blend > Blend Options. Apply the following settings and click OK.

Step 8
Reposition the objects on the Artboard as shown.

Step 9
Go to Effect > Distort & Transform > Transform. Apply the following settings and click OK.

Step 10
Got to Object > Expand Appearance.

Step 11
With all selected, go to Effect > Distort & Transform > Transform. Apply the following settings and click OK.

Step 12
Lastly, go to Object > Expand Appearance.

A Final Note:
Now that you know how to easily make a Geometric Halftone Effect in Illustrator, try using different geometric (or organic, why not?) shapes like squares, pentagons, etc for a totally different visual impact.


Comments